

How to make a microphone sound better. In so many scenarios, people don’t get the most out of their mic. If you’re relatively new to recording or using a mic, it can be hard to know what you’re doing. There are certain tips that can be used whether recording on a computer, using it for Discord, Zoom calls, or performing music.
Microphones aren’t rocket science. Though they are intimidating for beginners, a few simple tips can turn your low-quality audio into a crisp and professional sound. Our guide can help if you are a musician trying to get the edge on home recording (or even in the studio). It can also help if you just want to get a clearer line on your Zoom conference.
This guide to improving your microphone sound has some easy, actionable tips. Some of them work even if you are using the internal microphone on your device. Many devices now have decent inbuilt microphones. iPhones and other smartphones are getting better every year. If you know what you are doing, it can be relatively easy to get a quality recording.
Improving Your Microphone Sound – Our Top Tips
Remove Background Noise
This is an incredibly basic tip. You are probably already very familiar with the idea of removing background noise. However, you might not know all of the ways you can do so.
Firstly, if you can, choose a good place to record or use your microphone. If one side of your home is next to a busy road, it’s best to avoid this. Your mic will pick up the noise of traffic. Humans are very good at getting used to this noise and mentally blocking it out. This can be a symptom of illness, in extreme cases. However, we all do it to some extent. You’d hate it if your brain processed every conversation in a busy restaurant!
Other options for removing background noise include closing doors and windows (obviously). Microphone selection can also be a contributing factor. If you use an omnidirectional microphone it might take the sound from further away, whereas Cardioid or Hypercardioid mics just focus on picking up nearfield sounds.
Set Your Levels
There is a sweet spot in terms of the volume at which you are recording. Overload the microphone and you end up with distortion, record something from too far away and you will barely hear the instrument or voice.
Your gain levels may be on the microphone itself. Popular USB mics like the Blue Yeti include a gain control, so you can ensure you are getting a clean signal. If you are using an audio interface or mixing desk, setting the gain levels will be easier still.
If you don’t have a gain control, for instance, if you are using your iPhone’s microphone, you might find that it isn’t possible to control the gain or sensitivity of the mic. This makes the next tip even more vital to make your microphone sound better.
Check Your Distance From The Mic
Just like the “sweet spot” for your gain level, there is a sweet spot in terms of how close you should be to the microphone.
How far away from the microphone should I be?
6-10 inches.
That is the ideal distance from the microphone if you are recording your voice, whether you are singing or recording a voiceover, podcast, or audiobook. A simple way to check that your mouth is at least five or six inches away is to put your fist between your mouth and the mic to check.
6-10 inches is also a good starting point for instruments, though there are more opportunities to experiment with recording techniques for guitar and other instruments.
Make Your Room Mic-Friendly With Acoustic Treatment
This tip sounds like we’re getting a bit more scientific. Luckily, making your room sound better, and in turn making your mic sound better, is pretty simple.
There are a few simple tricks to making your room sound better, and recordings sound clean and crisp:
- Absorb the sound. There are a number of ways that sound can be absorbed in the background to stop annoying reflections and provide a better sound from the mic. Filling the room with furniture is one of the best ways, and adding cushions and duvets.
- Avoid hard, flat walls. If you can put things on the walls, even sheets and duvets you have hung, it will prevent a lot of unwanted sound reflections.
- Use bespoke acoustic treatments. Even a simple vocal isolation booth can transform the sound.
Some of this will come down to room selection, too. If you have a room that already has couches and a lot of furniture in it, then this is better to use for recording than a room that is clinical and empty.
If you want to develop a better understanding of acoustics, the video below might be helpful.
Use a Pop Filter for Your Voice
Anything you use for podcasting, recording, or streaming your voice, or for singing purposes, should use a pop shield.
A pop shield helps to filter out sibilance and the “pop” sounds that your mouth will automatically make when you talk. If you are using a microphone to record rap vocals you will really notice these sibilant sounds.
Pop filters are very inexpensive pieces of equipment, and they’re really simple. They can clamp onto a mic stand. Some people even choose to make a pop shield, and you may be able to do this with pantyhose and an old coat hanger or a piece of thin metal wire.
Check out our recommended affordable pop filter
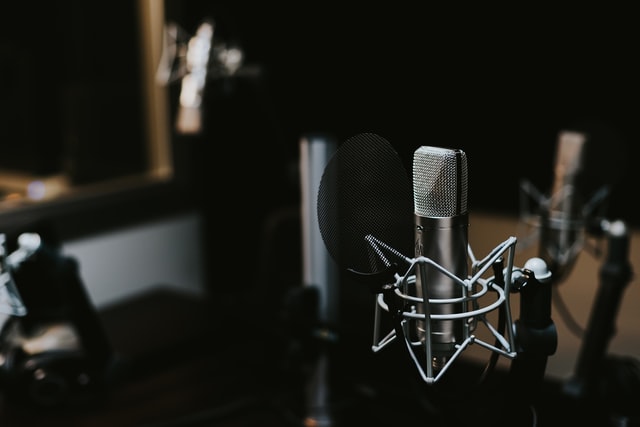
Invest in an External Microphone
A lot of people who want to know how to make a mic sound better are talking about their internal microphones. If this is you, think about a small investment to get a better quality microphone.
Recently, we wrote a guide to microphones for Zoom calls. The mics within can also be helpful for other purposes like podcasting or improving discord calls. The upgrade you get from spending a little bit of money on getting a slightly better microphone can be really surprising. Your device will probably have a tiny microphone included. These can be passable in terms of quality, but not as good as a mic with a bigger capsule or diaphragm.
If you have an iPhone or another Apple device, you can buy a microphone to connect to your device input, where you insert the charger. The fact that there is a model on the market made by mic powerhouse Shure shows you just how popular these types of microphones have become.
Many other devices such as laptops and android phones allow you to plug in a microphone. They usually have specific microphone inputs, which shows just how common this is. If not, a USB audio interface can help you to achieve the desired results, and plug in many different types of microphone, including options with traditional XLR connections.
Turn Off Notifications
The next tip on our guide is incredibly basic. In fact, it’s actually a little infuriating to have to include it. However, if you have ever been listening to a podcast and heard the ping of an alert, or watching a Twitch stream or Zoom conference only for it to be interrupted constantly, you’ll know why we’ve included this on the list.
This is the easiest problem of all to fix. Turn notifications off on your devices to avoid the ping of notifications or that embarrassing ringtone you have.
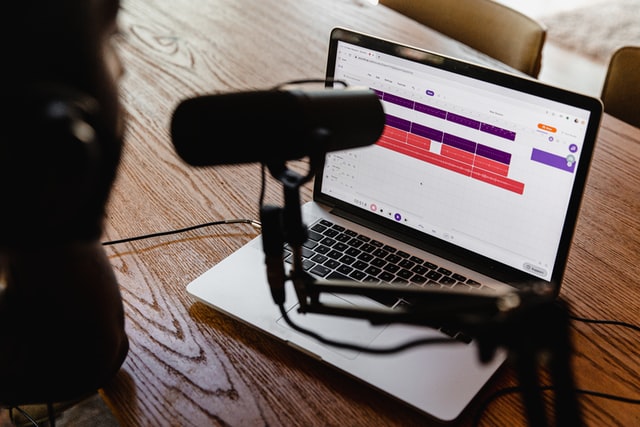
Learn About Post-Production
Another tip that sounds a little intimidating if you are new to recording audio. It doesn’t have to be, there are a few very simple tips that can help you with post-production. You can use inexpensive software such as Reaper, or even free software like Audacity.
The two main techniques you will be using are below.
EQ
EQ is the process of boosting or reducing certain frequencies on the spectrum. Most basic music programs offer some form of EQ processing. The frequencies are measured in Hz, and there is a simple guide to help with boosting or reducing most human voices:
- 200-600hz – Bass and the “body” of the sound. Boosting this can make it sound muddy.
- 4000hz and above – These are the high frequencies, audio engineers may describe it as the “air”. Too much in this range will start to sound shrill or even cause headaches.
- 3000-4000hz – A subtle boost here might give a bit more presence to your sound.
Some of these concepts are quite abstract unless you hear them. The guide below will help.
If you are recording instruments, these can benefit from EQ, too. All instruments cover their own frequency range and require different levels of tweaking. You can make them sound more or less bassy, or reduce or increase the treble, to get your desired sound.
Compression
Compression brings the volume of the audio closer, to a more reliable level throughout, with less peaks and troughs in the sound. If you’ve ever listened to an audiobook or podcast, or even a streamer where the voices seem to get quieter and louder in different sections, they probably should have used a compressor.
A Word of Warning
It’s fair to leave a quick word of warning on this guide. If you aren’t willing to use a decent microphone then there is every chance that your recording will sound less than professional. It’s very important that you use a mic that is at least decent. Fortunately, there are some great budget mics on the market today.
Conclusion
The simple tips above can help you to make your microphone sound better no matter what you are using the mic for, from voices and dialog to streaming and recording instruments.
Most of the tips are free or at least have a method you can use for free or virtually free, such as making your own pop filter or downloading some free EQ software.
The more you record, the more you will get a workflow that works to make your microphone sound better, and your recordings sound much more professional in general.


